
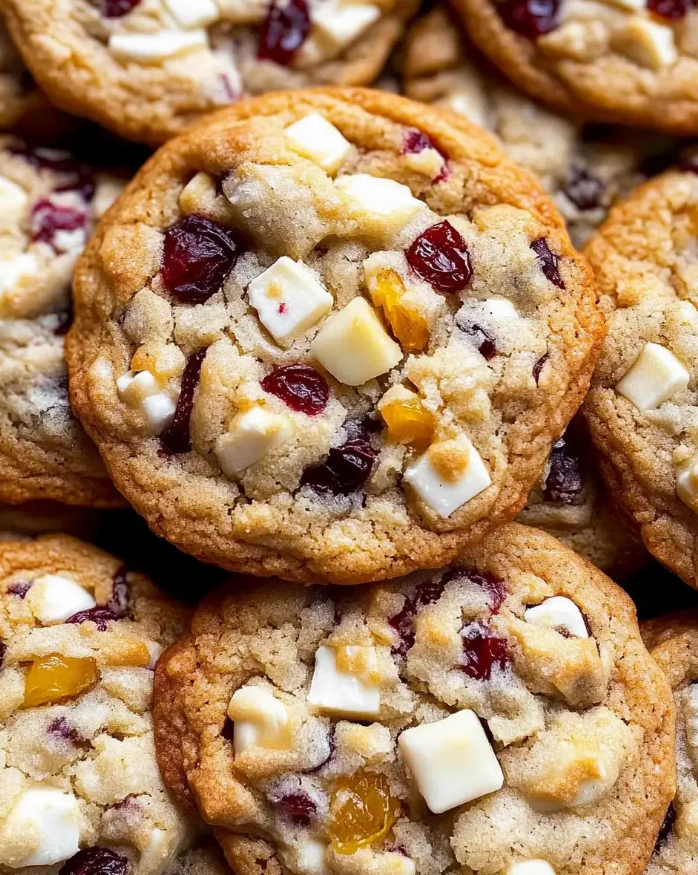
This Cherry Cake is MELTING hearts everywhere!
Instructions
- Preheat your oven to 350°F (175°C). Grease and flour a 9-inch springform pan, or line the bottom with parchment paper and grease the sides.
- In a medium bowl, whisk together the 2 cups of all-purpose flour, baking powder, baking soda, and salt. Set aside.
- In a separate large bowl, using an electric mixer, cream together the softened butter and granulated sugar on medium speed until light and fluffy, about 3-4 minutes.
- Add the eggs one at a time, beating well after each addition until fully incorporated. Stir in the vanilla extract.
- Gradually add the dry ingredients to the wet ingredients, alternating with the buttermilk. Begin and end with the dry ingredients. Mix on low speed until just combined, being careful not to overmix. Overmixing can lead to a tough cake.
- In a small bowl, toss the pitted and halved cherries with the remaining 1 tablespoon of flour. This step helps prevent the cherries from sinking to the bottom of the cake during baking.
- Gently fold the floured cherries into the cake batter using a spatula.
- Pour the batter evenly into the prepared springform pan.
- Bake for 45-55 minutes, or until a wooden skewer or toothpick inserted into the center of the cake comes out clean or with only a few moist crumbs attached.
- Remove the cake from the oven and let it cool in the pan on a wire rack for 15-20 minutes.
- Carefully run a knife around the edge of the pan before releasing the springform collar. Allow the cake to cool completely on the wire rack before dusting with powdered sugar and serving.
Cooking Tips and Variations
For the absolute best results, always ensure your butter and eggs are at room temperature before you start mixing. This allows them to emulsify better, creating a smoother batter and a more tender, even-textured cake. When creaming butter and sugar, really take your time; it should be noticeably lighter in color and fluffy. This step incorporates air, which is crucial for a light crumb. Don’t overmix the batter once the flour is added; just mix until combined. Overmixing develops the gluten in the flour, leading to a tough cake. To prevent your cherries from sinking, tossing them in a tablespoon of flour is a simple but effective trick. The flour creates a light coating that helps them suspend in the batter. For a perfectly golden crust, you can brush the top of the cake with a little milk before baking.
If fresh cherries are out of season, you can absolutely use frozen cherries! There’s no need to thaw them beforehand; simply toss them with the tablespoon of flour while still frozen and fold them into the batter. The baking time might increase by a few minutes. For a delightful flavor variation, try adding 1/4 teaspoon of almond extract along with the vanilla extract; cherry and almond are a classic pairing. You could also experiment with a hint of lemon zest in the batter to brighten the flavors even further. For a crunchy topping, consider sprinkling a simple streusel made from 1/4 cup flour, 2 tablespoons sugar, 2 tablespoons cold butter, and a pinch of cinnamon over the top of the cake before baking. If you prefer a glaze, a simple lemon glaze (powdered sugar mixed with a little lemon juice) drizzled over the cooled cake would be fantastic instead of just powdered sugar.
Storage and Reheating
To store any leftover cherry cake, ensure it is completely cooled. Once cool, you can cover it loosely with plastic wrap or aluminum foil, or place it in an airtight container. At room temperature, the cake will stay fresh and delicious for 2-3 days. For longer storage, you can refrigerate the cake for up to 5 days. If refrigerating, it’s best to bring it back to room temperature before serving for the best flavor and texture. This allows the butter in the cake to soften slightly, making it more tender.
For reheating, if you prefer a warm slice, you can gently warm individual portions in the microwave for 15-30 seconds, or in a preheated oven at 250°F (120°C) for about 5-10 minutes, until just warmed through. Be careful not to overheat, as this can dry out the cake. This cake also freezes beautifully. Wrap individual slices or the entire cooled cake tightly in plastic wrap, then an additional layer of aluminum foil. It can be stored in the freezer for up to 3 months. To thaw, simply transfer it to the refrigerator overnight, then bring it to room temperature before serving, or gently warm as described above.
Frequently Asked Questions
What kind of cherries are best for this cake?
Fresh sweet cherries, such as Bing or Rainier, are ideal for their vibrant flavor and beautiful color. However, sour cherries also work wonderfully if you prefer a tarter cake, or if you’re using canned or frozen varieties (just be sure to drain canned cherries well). The key is to use good quality, ripe cherries for the best taste.
Can I make this cake ahead of time?
Absolutely! This cherry cake is an excellent make-ahead dessert. It tastes even better the next day as the flavors have more time to meld. You can bake it up to 2 days in advance and store it at room temperature, covered, or refrigerate for up to 5 days. Just dust with powdered sugar right before serving for the freshest look.
Why did my cherries sink to the bottom of the cake?
The most common reason for cherries sinking is not tossing them in flour before adding them to the batter. The light coating of flour helps them adhere to the batter and prevents them from sinking. Also, ensure your batter isn’t too thin; a thicker batter provides better support for the fruit. Sometimes, overmixing the batter can also contribute to sinking fruit.